 |
| originally from here |
 |
| originally from here |
 |
| originally from here |
 |
| also originally from here |
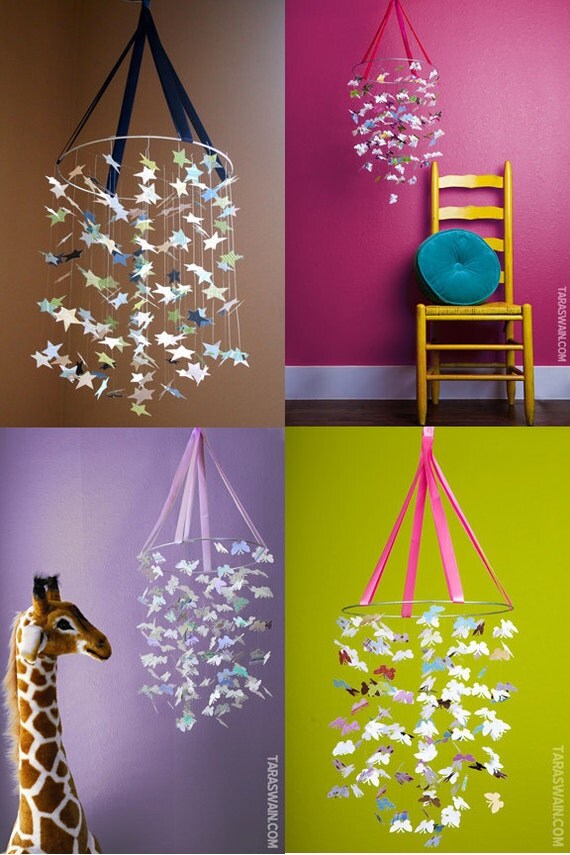
I decided to use scrapbook paper instead of the paint chips that most of the tutorials used. While the paint chips are free, they are only one sided and I knew that you would see both sides of the stars once they were hanging. Card stock is heavy weight like paint chips, but it has color on both sides of the paper.
I picked up 4 sheets of solid colors, along with a cute little duck print paper that coordinated. I got a wooden embroidery hoop (to use the inside ring) and a star punch for under $20 total (gotta love bonus coupons!). I already had string, double sided tape, and ribbon at home.
 |
| It's hard to tell, but the solid colors have a sheen to them, so they reflect a lot of light |

I began by punching out hundreds of stars. I don't actually know how many I punched, and I didn't use them all, but it felt like 100.

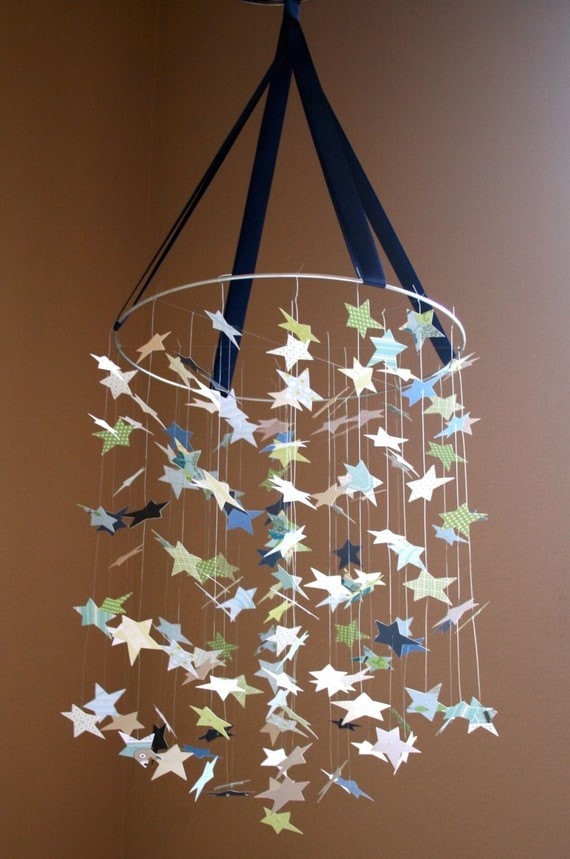
Then I needed to decide on the way the colors would hang. I could have gone with a random look like the star mobile above, but I really liked the gradation from that original mobile I pinned so I played around with how it could look.


When I finally settled on the pattern I got to taping the stars onto the string. I was happy with it.
until I held it up and saw that it twisted around and you could see the tape. How could I forget that you would see tape? So I pulled out the double sided tape and got to sticking the same colors on the back of each star.

Now when it hangs it can twist all it wants and still looks cute.
To shorten up the process that took me 2 hrs, I'll just jump to the after picture:
 |
| I love the way it reflects light. It almost sparkles! |
I painted the hoop white, made 6 strings of the original pattern, and 4 more without ducks for the inside. I tied the ribbon onto 4 points and it's now ready for the nursery!
I'm so happy I finally made this mobile, now to tackle some more pinned ideas.
Wow, that looks really cute! Awesome job!
ReplyDeleteLiving A Wonderful Life
Oh my goodness, Di - that is so pretty!!! I love it!
ReplyDeleteThanks, ladies! I can't wait to hang it in the nursery!
ReplyDeleteThis looks adorable! I did a star mobile for the first Pinterest challenge for my little guys nursery. I love the whimsy that they add to the room :)
ReplyDelete